After much eager anticipation Sunday finally arrived....
Ian has put a huge amount of time in on this so thanks for making it happen, it was a visual treat and the boards, terrain and models really looked fantastic, adding to the "buzz" of the game.
Now onto the battle...
Jon elected to be the German c in c with Mark as the British
Frank and Phil were under the strict command of Mark, whilst Ozy and me had the wrath of Herr Oakey to contend with.
We had no idea what the British would actually be up to and after seeing the terrain on table 1A we thought perhaps they would attack down 2A.
Well as it turned out I plonked myself in front of 1A and then on turn 1 Frank turned up with a load of British infantry and 12 x 25 pounder guns.
We decided to defend the fort on 1C so Ozy had his hands full over there.
Before the battle - some photos of the tables ....


TURN 1 The Action Begins.......


Frank arrives in style on 1A

My 2 Italian battalions were dug in waiting to try and hold up the attack.


It was a 9 turn slog and we exchanged blows for a good few hours....

There is a minefiled here, Frank was just about to find out! pity it was a dud but Frank had the balls to take that chance and walk into it. Nice one Frank, I would of done the same (honest)

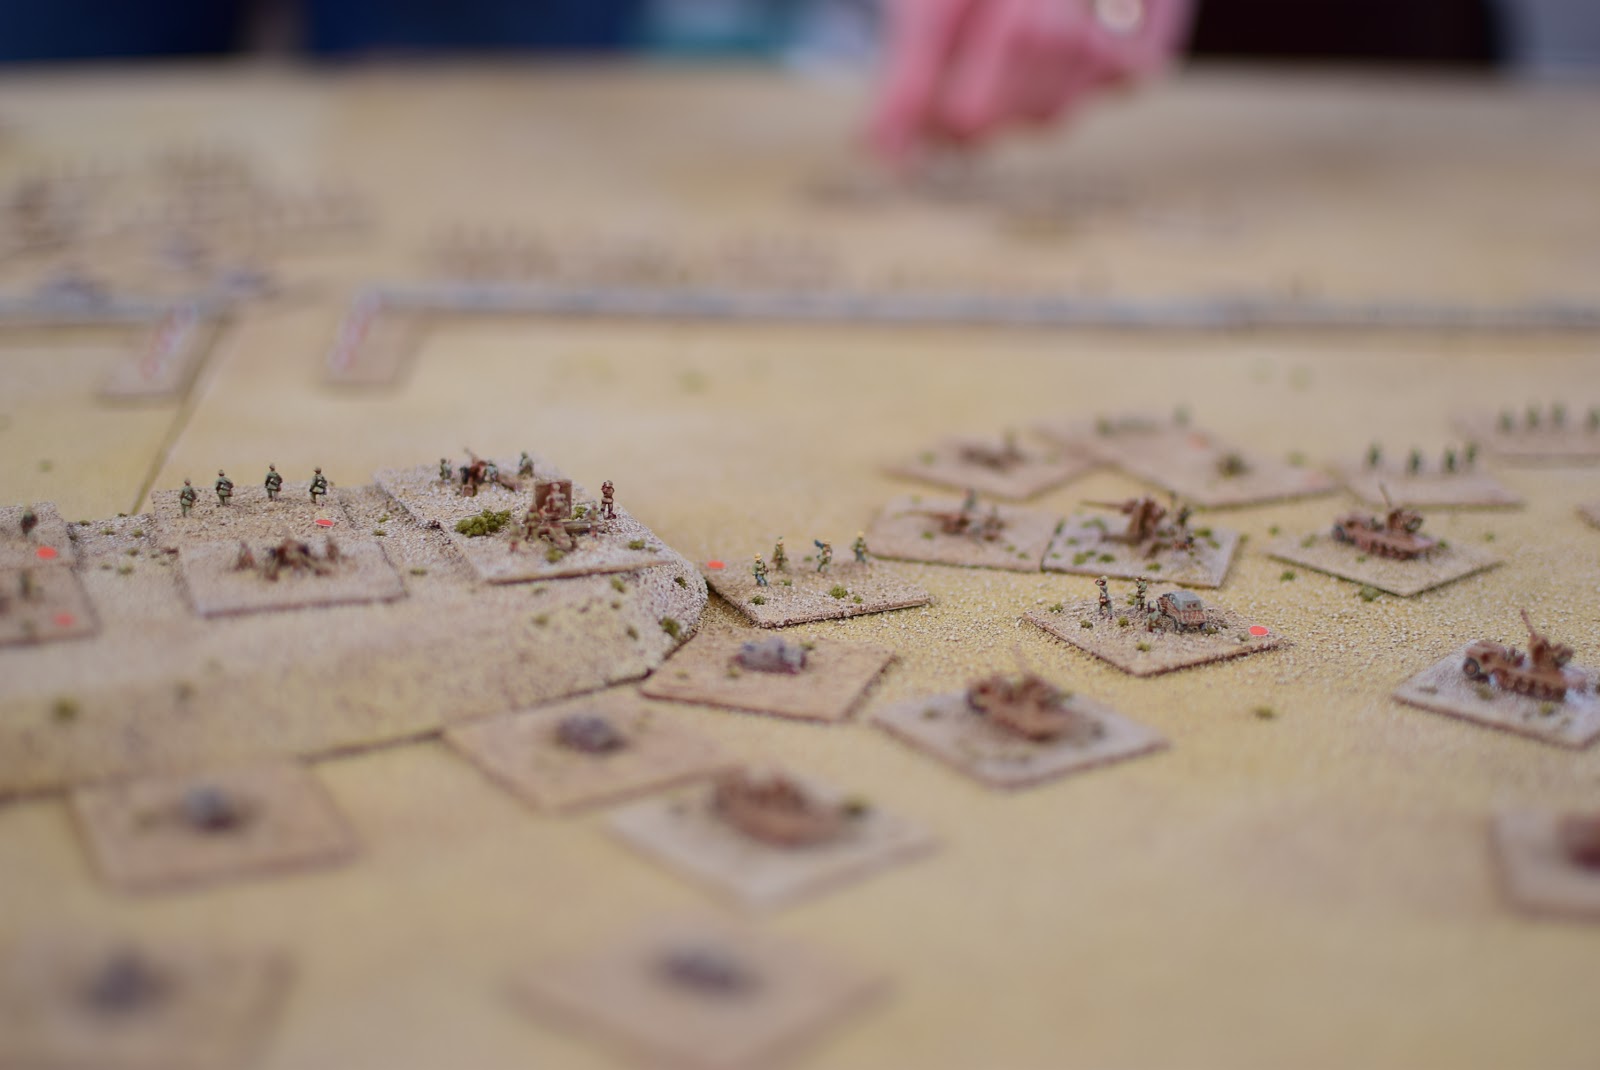
I setup my camera with a very large aperture to capture as much light on the lens as I could, the only downside is there is a very shallow depth of field so what is out of focus is deliberatly blurred. It's a nice effect and passes for desert heat if you can use your imagination,.... otherwise it is just blur !

Phil launches his attack on 1C


These 5.5" guns were pounding our airfield, not for too long though as my FO on 2B was able to call in 150mm artillery to take them out.

More action on 1A....


Frank's making slow progress. Using his 25 pdr's to supress and then follow up with another supression to kill what he can. It's not easy though and there is a lot of head scratching going on from the British side. This was a good result for these two Italian battalions.


It tool until after lunch time for me to break off and get the hell out the there. Another British force had flank marched across to make sure the job was done, well it was but I was chuffed to of held Frank up for so long which crucially bought us enough time to fall back onto 1B for more action....

British air assets fly over to support Phils attack on 1C. The fort is now in the hands of the allies!


German Panzers arrive to battle it out against Phil on table 1D


Back over on my side on table 2A Frank is pushing hard with armoured support (Matlida's)
I have a re enforced infantry battalion holding the hill with Italian light tanks in a hull down position behind the ridge. This was supported by an attachment of FLAK guns so there were 2 88mm flak guns and 4 x 20mm flak halftracks bolstering the position


It was a bloody good fight and Frank was making gains. The strength of the Germans showed through in the end and Frank ended up breaking off with an infantry battalion plus his tanks which decided they did not want to play with my 88's.
Mark released another battalion to push the attack but the clock was against the British now and it was beginning to sink in that we had almost certainly secured a convincing victory .
Frank blasted my anti tank guns off the table using an effective mix of artillery / anti tank guns. The third battalion arrived but I inflicted big losses as it tried to push through the minefield.
It was at this point Mark took Franks 25 pounders off him to use somewhere else. Frank was "not impressed" whereas I was relieved !. I don't think it would of made a massive difference as at this point we held 12 points versus 6 on the tables.


Action over on Ozy's tables


The sun is going down on the desert as Frank sends in his tanks again but it's all too late now. German victory awaits!


The aircraft await Herr Oakey's arrival to return to HQ to report a major German victory!


Well, I tried to sum it up as best I could, well played to the British who tried very hard to make gains but overall just could not break through in key areas. Congratulations to my German colleagues!
This was the first time the defenders had won but I do think the desert terrain played a big hand in the events on table.
1A proved a real tough nut to crack. Frank really struggled against a stubborn defence. Could he of been any more aggressive ? should Mark of gotten more involved and intervened earlier?
Questions... questions
Hindsight is a wonderful thing and only after a game can you reflect on what could and should of been done at the time.
Jon played a blinder with our initial orders. As I was able to effectively hold up Frank allowed Jon to release and use our reserves to great effect.
We did get a kicking over on 2D when Ozy's Panzers had to break off from Phil's excellent armour attack but we had enough stuff to use over on that side as Frank was kept at bay.
A totally different game to what we have been used to playing.
There is nowhere to hide in the desert, this was a major factor and the dust which could be spotted from adjacent tables was an additional problem to deal with as FO's could call in artillery which was even more effective than in previous games.
Aircraft were able to reign death and as I anticipated they were devastating. With some good dice rolling we wiped out a lot of the allied stands. The British aircraft spent most of the game chasing our air assets. I felt this was a big mistake (Mark, you will have to take the rap for this one!) as the British as I remember had more aircraft and the fighters which were used on cap could of straffed targets top better effect.
Again hindsight comes into play and I don't know for sure if this would of made that much difference to the outcome?
Overall though as a game I really enjoyed the day and the company.
The outcome was second place to the experience.
Well played chaps.
3 comments:
Nice report Russ
Nice write up and photos Russ. It was a hell of a fight. Frank's steady attack was one move off the airfield - maybe a switch down the "B" tables might have unhinged your defence more effectively. The spotter operating along the "2" tables would have seen the Axis reserve movements and allowed a more effective response. Mark taking away Franks artillery support was priceless! The tank battles between Phil and Ozy were titanic with plenty of manoeuvre and counter manoeuvre - closer support from the German anti tank guns might have swung things on this side - however, the initial attack on 1D very nearly unhinged the whole British position and Phil was very lucky with his morale roll (Phil, it was overdue!). Jon's combination of units, forward defence and then use of the "2" tables to move reserves was excellent. The British use of their air assets was a lost opportunity which the Axis exploited to the full. Excellent game - I would like to do an encounter version if everyone is up for it?
An Excellent game. I was surprised the Italians lasted as long as they did on table 1A and early on in the game the prospect of 4 battalions moving down table 1D was a little unnerving as I had initially only put the German recon battalion on table 2 D as a block. I shifted this out of the way and put a regimental kampgruppe onto the back table expecting to have to put in more reserves to hold the right. As it was the British battalions on 1D then veered of toward the fort and I was able to move the blocking force up to 2D. This was a potent force with 3 anti tank guns and 150 MM self propelled art. After the break off by Ozy in his pursuit of Phils recon battalion I had hoped that the Britudh would pursue the retreating panders onto this screen of guns but alas Mark stopped them .this ultimately however relieved pressure on the extreme right and these table were never threatened again allowing me to pull the Italian armour across to the right opposite franks quite sector and counterattack Phils assault on table 2C with the German armour.. These manoeuvres combined with the concentration of British forces down two tables allowed be to leave one table totally undefended and rush the mobile forces to were they were most needed.
On the hour my air power was never used on a table that was in contention as that was where the British CAP usually ended up, instead I hit units stationary or moving across the back tables in the hope of destroying reserve units before they could become effective. On the half hour and aware that the British could not respond I used the airpower on contested tables targeting HQs and armour in the hope of removing the British players ability to change orders or put any significant pressure on Ozy or Russ. It still felt close however. I'll play this one again as a meeting engagement or in the same format on the British side.
Post a Comment