Friday 27 March 2015

Troop Types of the Italian Wars

As we will be playing a new period with our Good Friday game, I thought I should put some effort into explaining the different troop types we might encounter during the Italian wars of the early 16th Century.  This is a time (roughly 1495 to the 1550's) that corresponds with the early renaissance and military historians have long been fascinated in the rapidly evolving tactics and weaponry of this period with many arguing that there was a "gunpowder revolution" that laid the technological basis of Europe's dominance over the succeeding centuries.  However, the latest historical thought is that the Middle Ages didn't just end on a Wednesday afternoon in 1495 and that the old medieval troop types remained important during these wars and that gunpowder weapons were just as important in the 15th Century and even during the 14th Century when they first emerged.  Why should this bother us?  Because it effects the rules we use and how we interpret those effects during our games.

Heavy Cavalry


Gens D'armes

Gen d'armes, gentleman pensioners, knights, men at arms are the traditional shock component of all European armies of this period.  Privelaged in society and paid for directly by the King they are also the most dependable.  Fully armoured, including their horses, they depend on the lance for shock but will have a sword and mace for the melee.  French gend'armes charge "En Haye" or in line with the intention to overwhelm their adversary in the initial charge.  German men at arms tended to attack in deeper more disciplined formations with the intention of maintaining cohesion beyond the initial charge.

Retainers

In addition, knights would have attached followers that would fight in second line units.  These retainers, coustilliers, archers etc would not be as heavily armoured and could be used for scouting and skirmishing duties but more often fought on the battlefield in the same way as their masters.

Light Cavalry


Stradiot

This was a troop type that was beginning to become more important during this period.  Mercenary bands in Italy formed units of mounted crossbow, and as the war progressed, mounted arquebus.  The Venetians introduced Stradiots, mercenary renegades from the Balkans, well practised in hit and run warfare against the Ottomans, whilst the Spanish brought over Jinettes fresh from the conquest of Granada.  Their role was raiding camps and baggage and protecting the flanks of armies.  Unable to stand up against heavy cavalry they were often lethal against shaken and weakened opponents.

Pike armed infantry


Landsknechts

During the preceding centuries, infantry was a poor auxiliary to the armoured knights in battle.  Useful in sieges, they had a limited battlefield role.  However, during the 14th Century the Swiss won a number of surprising victories through their disciplined use of the pike.  At first they beat a number of German powers including the Emperor with halberds and bills, but with the development of a long pike they changed history by destroying the nascent power of Burgundy.  Machiavelli referred to them as the new Roman legions, and unlike previous attempts at infantry pike formations (Scottish schiltrons and Flemish pike) they were able to rapidly move across a battlefield and upset an enemies organisation.  Operating like a trade union, "No silver, no Swiss" was their motto, and an army that was able to secure their services was at a distinct advantage.  As it was the French who usually secured their services, the Emperor raised his own Swiss style formations, the Landsknechts (no-one knows were the name comes from!).   The Landsknechts had a reputation almost as high (or as low!) as the Swiss and fought for virtually every army of the period.  However, the two contending pike formations hated each other and always attempted to anihilate their competitors.

Both Swiss and Landsknechts fought in a similar manner, employing deep formations with their best armoured troops to the fore, using impetus to overthrow their enemies.  The hedgelike pikes warded off heavy cavalry and attached halberdiers or two handed sword men could leap out and despatch an enemy once they were shaken.  However, a shaken pike phalanx was extremely vulnerable and once the cohesion and discipline was lost they were easy prey for melee cavalry or infantry like the sword and buckler armed Spanish.

Firepower Infantry


Arquebus
This period is most often associated with the rise of arquebus armed infantry, however the crossbow remained prevalent, especially in the French army until about 1525.  Whether one army had more arquebus or crossbow was due to weapon availability and circumstance. For example the Spanish were the most famous exponents of the arquebus because they had just won a war reconquering southern Spain which had involved innumerable sieges and the arquebus was used as a light artillery in attack and defence of walled towns.  Hence, when the Spanish arrived in Italy during the 1490's this was a troop type that was readily available and the Spanish had to find a use for these veterans.   Therefore, most Spanish battles involve field defences which replicate the battle conditions of a siege and allow them to use their arquebus at an advantage to the French Gend'armes.


Crossbow

Without field defences, firepower infantry were very vulnerable to cavalry, and so during this period there is a continuing tactical development of linking these infantry with pike formations.  The Spanish Tercio is the ultimate outcome and dominates infantry tactics after our period right up unitl the 30 years war.

Melee Infantry


Sword and Buckler


Melee infantry were usually a speciality of sieges as they are very vulnerable to cavalry on the battlefield.  However, the Venetians employed large numbers to make up for their lack of pike formations.  The Spanish developed short sword wielding infantry based on classical Roman history which they employed to dive under pikes formations chopping away at unarmoured legs!

Artillery


Artillery

The Italian wars began with the shock invasion of Italy by the French.  They had successfully developed a technological lead during the expulsion of the English from France at the end of the 100 years war and had amalgamated the latest advances made by the late Dukes of Burgundy after the absorption of their defunct state.  In one campaign in 1495, the French army had smashed its way through the city states of Italy, demolishing the medieval fortifications with impunity.  The rest of the war was an arms race to develop better artillery or fortifications, and it is for this reason that more battles are fought in this period than during previous wars as neither side could rely on castle walls to hold a province.  The French were always adept at providing heavy artillery on the battlefield, but many others invested heavily in this armament, including Henry VIII for his navy and mercenary specialists like the Duke of Ferrara.  Better casting, and just as important, better powder facilitated this development until the new fortifications of the "trace italienne" reasserted the dominance of the defence over the offence.


Trace Italienne

Sunday 22 March 2015

Big Battle DBA 3.0 AAR Samurai V Samurai

Thursday night and club night. Phil was good enough to arrange a DBA 3.0 game (big battle) using his re based and excellently painted Baccus Samurai armies.


Initial Setup....


Mark and Jon where busy gabbing so I had to make a decision on which table side to come on from.
We were the attacking army.

Perhaps in hindsight I chose wrongly but the result of this battle was not influenced by the terrain.


My command on the left flank.


Jon's (largest) command over on the right advances


Mark & Phil held the line on the other side of the table.

We had to try and thump this lot somehow


Overview after three turns


A couple of close up snaps of Phil's troops


Jon & I advance


Jon was involved in the action way before me and this scrap over on the right was a hard fought battle


In the centre my mixed command of bow (SHIT) and Sohei monks advanced


Phil had a nicely defended position on that hill, with some cavalry units protecting the far side of the table....


Over on the right and Jon fares the worst. Dice rolls were on the whole SHIT and there were a lot of 1's rolled which caused much pain

Jon lost three elements pretty quickly


The battle rages on over on the right flank


Over on the left I tried to neutralise Phil's cavalry with my Yari


This fort was a defensive stronghold, something we never managed to get any were near to


Over on the right Jon's command got whooped, the unlucky dice rolling killed any chance we ever had. Mar did very well and ruthlessly exploited Jon's exposed flanks

After we lost the command (yes 50% losses) I was left to carry the can but it was quickly evident that this battle was lost 


Final position of my command. Mark sweeps across unopposed to kill me


Jon's losses (ouch)


 Final army positions. 


A good game, both armies were exactly the same so credit to Mark & Phil as they managed to make things happen when we could not. Jon rolled very badly and I was not much better which made thing even harder.


DBA 3.0 is a good rule set for sure but it does lack the complexities which I am accustomed to in set of rules. I guess it's all about balance in the end.


Tuesday 17 March 2015

We are Honest.com Autumn Trees

Managed to find the time on Sunday to visit the local shop to pick up some Vallejo primer for Jon's ACW trees.

The airbrush was duly cleaned and dusted off from a few Months rest and made ready to spray the 50 trees.


Here's a few photos.....


I knew the colour I wanted to replicate and it was more reddy brown than red. The trees took the paint well but I had to adjust the compressor setting to avoid blowing too much tree stuff away during the spray application.

I used a lighter tone on model colours to add a highlight which sets these off quite nicely.

I am sure these will look great mixed in with or on their own. A touch of Autumn on the battlefield....


Will bring them down for you on Thursday Jon


Cheers

Russ


Monday 16 March 2015

Swiss V French POW Renaissance

After Mark's two losses against my Swiss Ian was keen to field his superbly painted French army and try to stop the Swiss watch ticking.


We rolled for the terrain and interestingly this time ended up with a lot of hills and woods plus a marsh area in the centre. Two lots of close cultivation balanced the tables making it a difficult choice for me to chose which table edge to come on from.


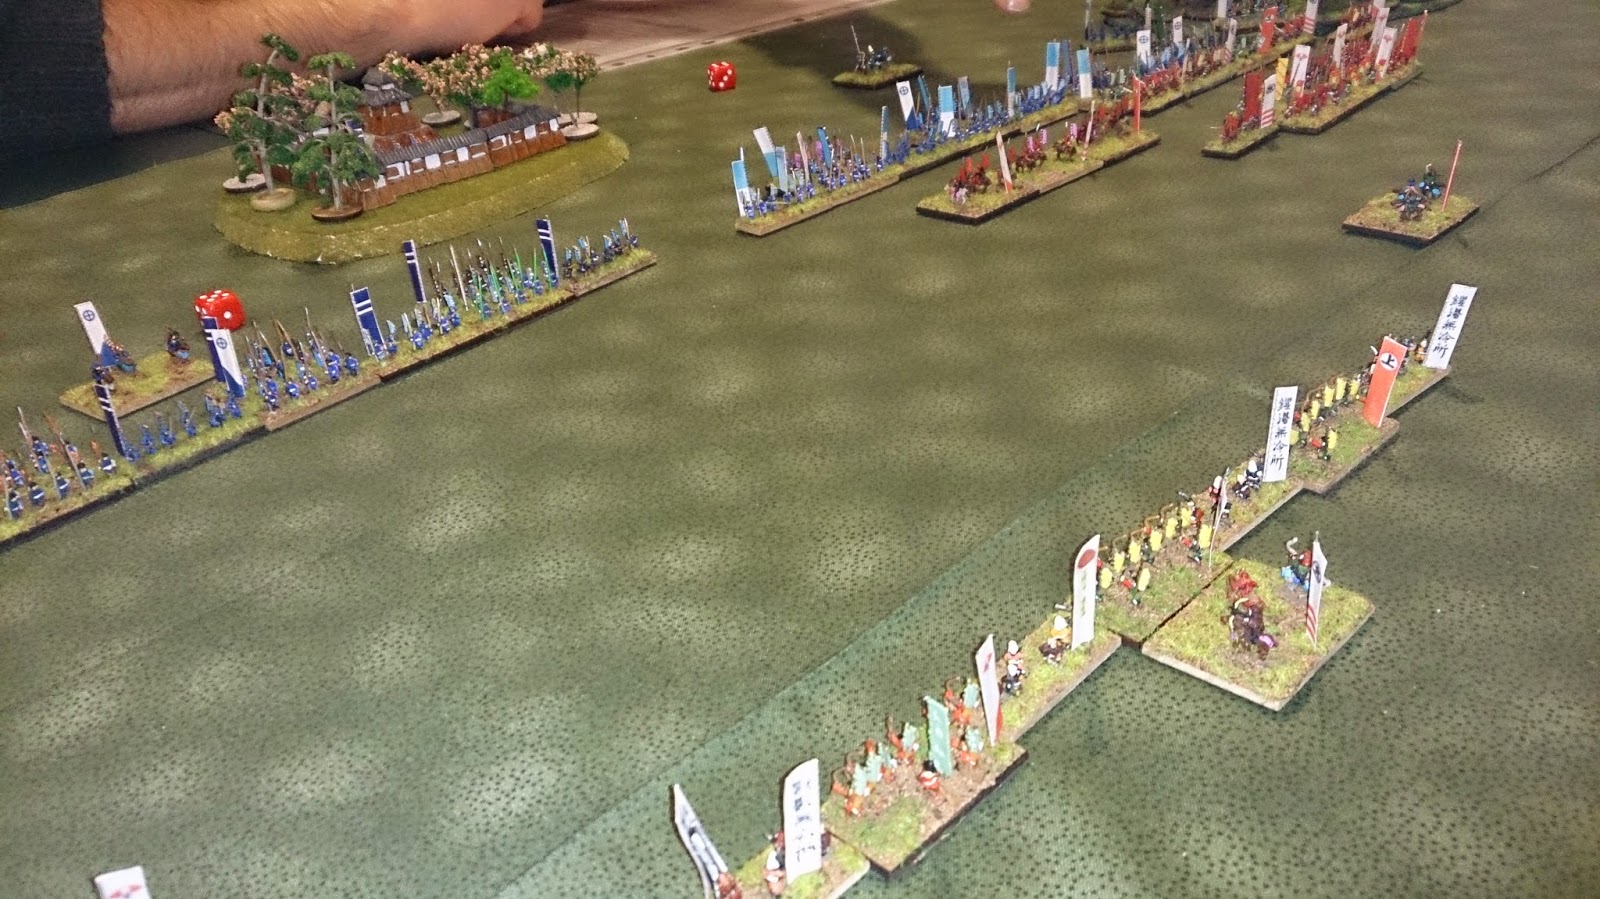
Initial Setup. The Swiss would attack from the near side below. I did not want to give Ian more open space to use his powerful French Knights.


Ian's finished army and tents


Superbly painted Gendarmes


#


Turn one and we are off!

The Swiss move first and as my pike are all over 16" throughout the move I get to move all my stuff 3 times covering up to the middle of the table in one turn.


You can see how much ground I covered in the first turn.


Milanese option...

I opted to build my army slightly differently and only to provide a bit more dynamics to the pike as I felt 12 units of pike would be a little bit one dimensional.

Below are Milanese heavy cavalry together with 2 units of mounted crossbow


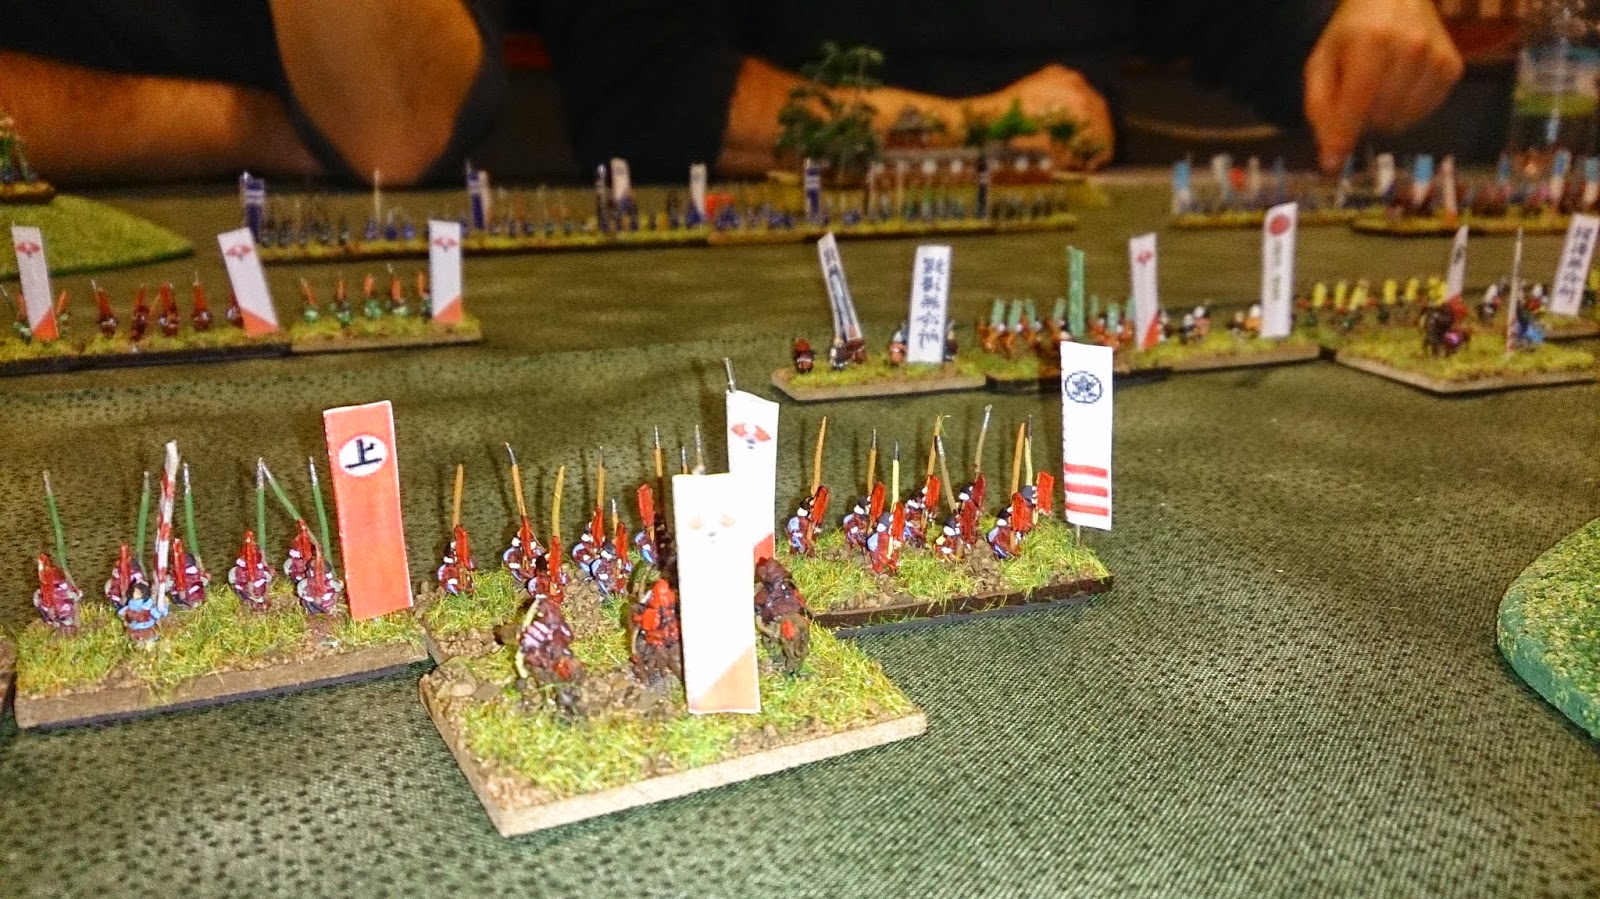
Swiss Pike blocks advance


Ian's French Gendarmes and retainers stand strong awaiting the Swiss pike


The machine rolls on


Ian was quick to deploy his first heavy artillery battery on the hill, this proved very effective against my pike and I did suffer against his guns.


The pikes close in on the objective....

My plan was if anything a little one dimensional. I wanted to concentrate all that pike against one area of the table which was the windmill / close cultivation that stood in front of Ian's baggage.

If I could smash my way through this and reach his camp I stood a good chance of demoralising the French army. I just had to execute!


Here we go.... Ian sends an order to hold that hill so his very large command (94 strength) can use the command radius of 9" to basically do whatever he wants, a good idea.

Below my pike block is thumped by Ian's heavy guns, I was warned by Master Shakespear about these on Thursday


This did little to deter me though and I pressed on only to be charged by Ian's Knights, unfortunately for Ian the Pike were just a bit better but only because of the frontage of units.


French Retainers positioned to charge


Ian's knight's take a retire shaken result.


French Pike units (who painted them?)

They are strong but no match for the Swiss

Ian's reserve, these Knights and retainers had me worried all day as Ian is an expert at using his reserves just when it matters. I had to keep my eye on this lot but because of the table side the French were forced to deploy Ian's forces were a bit squashed and this lot were out the action for time being.


Back over to the fight. Ian had rolled some pretty shit pip dice so far which really did screw him up early on. With very little pips Ian could not get his troops manoeuvred into the desired position. I was not complaining.


Fench Crossbow, I had no intention (yet) of engaging this lot if I could. With 8" range they posed a very real and nasty threat to my Pike.


Carnage on the battlefield. Things were becoming a bit busy on this side of the table but I was content to carry on for the time.


The Swiss have been charged (again) in the flank. Ian tried this as much as possible but it just did not have the desired effect. Over on the hill Ian attacks my shaken Pike again with his cavalry.

I am almost onto my objective and despite being slowed by the steep hill I managed to make it over pretty much unscathed to the edge of the corn field and windmill.


Over the in the centre Ians other command is out the action with his strong reserve just waiting....


Another flank charge, must try harder!


My mounted crossbow did take a thumping however and in one turn I lost 50% strength against one attack from the French Gendarmes. The other unit got shot to shit by the crossbow so both these units had to retire shaken. My light guns had also been shot at so were also shaken.

Still the Pike press on
 Over on the right I changed the order with my C in C, charging into Ian's cavalry with maximum effect, this caused a retire shaken and allowed me to move into clear space.


Ian try's yet another flank charge, the Pike are now almost on his left flank and the baggage looms.


The Swiss hold but Ian's heavy guns did rout one of the Pike units so first blood to the French!


Excellent Baggage!


Over on the other side Ian eventually releases his reserves. I knew this would be coming my way so had to react with an order change to try and save my C in C's command.


Here they come
 Order change in just in time!
 Hold that hill


I lost a mounted crossbow, this was on the cards as I had no pips left to move it.


The baggage is mine nearly!

just one more move


My C in C's command holds it's ground. Ian' largest command is almost broken and at 1 point off losing 50% strength.


I but had to cause one more casualty on Ian's largest command to make his army drop from attack to engage and this did happen.
 More French shaken Knights

 Even more French shaken units and all down to a forced morale check for all units for sacking the baggage!
 The Flank and baggage is mine now!

The French drop from engage to hold and can no longer do anything else to stop the Swiss attack
 Final Position of the Swiss


We shook hands and Ian conceded defeat, the French would retire from the battlefield unable do anything else on the day.


A great game and another convincing victory for the Swiss. The French knights posed the biggest threat but we both felt that the heavy artillery was the more effective weapon against the pike.

Ian's infantry was never going to be able to stand up to my Pike and he needed a combined force using both Knights and artillery to try and whittle me down. The French are indeed a force to be reckoned with, their Knights are if anything stronger than the Swiss pike but with a cramped deployment and initial poor pips my Swiss managed to move very quickly across the table and stole the show again.

There were some moments were I though Ian would come good but in the end the initial plan worked.
Taking the baggage was critical as I knew that I had a good chance to whittle down a French command on route which would cause a double bubble on the army morale.


This sets the scene four our Good Friday re match which should be good fun.


Thanks to Ian for another top game.