Monday 30 July 2018

Star wars armada tournament


Image result for queen we are the champions

We are the champions


Image result for summer olympic medal podium ceremony

Team Deeside with a Gold and Bronze at Saturdays tournament


Actually we went to the Liverpool Gay pride rally to show our support for our brothers and sisters and anyone else in comfortable shoes.
The rally ended right outside the shop we were playing the tounament


Just a few shots of the day.
i was too busy playing to get more , shame
A good day although Russ wouldn't hold hands on the way home

Joy of six

Austerlitz 


Russians and Austrians hold the pratzen heights

French 


Monty Python hand of god moment

Fighting along the line
French right wing ran out of steam.
Allies right wing fell back allowing the French the heights.


Thursday 26 July 2018

Mountain Warfare Rules

Image result for airfix german mountain troops
I had these excellent figures in 1/72nd scale and always think of them when contemplating mountain warfare.


I've been very busy, with the help of Russ and Mark, building up mountain terrain this summer.  I am aiming to expand the scope of my existing desert terrain and give further options for operational games in East Africa, Tunisia, Sicily, Southern Italy and Iran.

The terrain is progressing well but at my usual slow pace and I am ready to put on a Thursday night trial game now, and should be operationally ready by September.

With this in mind I thought it would be a good idea to post some outline ideas on rules for mountain warfare.  I want to keep them simple and obvious but cover all the peculiarities that will make fighting in the mountains different from other games - so here goes;

Amended Spearhead Rules for Mountain Warfare

  1. Supporting units cannot fire through friends on mountains.
  2. Units on mountains are always in -1 cover.
  3. All units firing from one mountain at a target on another mountain suffer a -1 penalty (apparently it was notoriously difficult to judge the range)
  4. Mountain trained troops get a +1 in close combat.
  5. Only support units of 76mm and below in calibre can be manhandled up mountains and move at 1/3 normal movement.
  6. Infantry units move at a max 1/2 normal movement when on a mountain (see later for ascending/descending) and cannot fire when moving.
  7. Mountain trained infantry move at a max 1/2 normal movement when on a mountain but can fire in the moving infantry phase.
  8. Only howitzers and mortars can fire onto or over mountains.  Calibers of 105mm or less can fire up to two levels.  106mm to 149mm can fire up to 3 levels.  150mm and above up to 4 levels. This is in addition to and not instead of their usual range from other tables.
It's probably simpler if I illustrate how mountains are ascended (and descended).

The units movement ends immediately once in contact with the mountain.  At this stage if it has moved up to half its normal movement rate it can fire in the moving infantry phase.

On the second turn the unit can begin its ascent.  The rear of the base is placed on the level and the rest is lent against the mountain (the first mountain base is equal to two levels).  This is a full move.

On the third move the unit is placed on the initial level area.  This is a full move.  Movement around this level is according to the rules above at 1/2 rate.

The unit is required to continue its ascent. Again the rear of the base is placed on the level straight away without stopping at the base and the rest is lent against the second tier of the mountain (the second mountain base is equal to one level).  This is a full move.

On the second move the unit is placed on the top of the second tier.  This is a full move.  Movement around this level is according to the rules above at 1/2 rate.  The mountain top is impassable and counts as a fourth level for calculating arc of fire for howitzers and mortars.


I hope I have made the above clear but I would welcome any comments or additions that anyone may have.  Phil, if I could borrow your book on winter and mountain warfare I could check for any other details I may have missed.

Tuesday 24 July 2018

Early Crusades - 1100AD


I had planned on running the full Impetus rules this Thursday but as per the usual with the strains of the workplace hampering my free time I have simply not had the time to read the rules through, print off the army lists and organise the armies in time for Thursday.


The best I can do this week is a journey back to 1100AD with a clash between the later Fatimid Egyptians and an Early Crusade army using the same rules as last week which I think would be a good idea to continue to familiarise ourselves with.


So it's basic Impetus 2 but both armies have been made substantially larger than the basic lists as per last week. Sorry Ian... no opportunity rules this week.


The Egyptian army boasts a fine array of archer troops and mounted archers which can also fight hand to hand. The infantry are reasonably tough but numbers will matter here with the Egyptians having the larger army at their disposal.


Over on the Crusaders side we have a less diverse mix of heavy knights and foot sergeants with some foot crossbow and pilgrims thrown in to the mix.


It should be an interesting encounter and the first venture for me into this period.


May God be with you

Milestone reached

I finally finished my WW2 desert campaign figures in April but didn't post anything as I had one or two small items to finish off.  At JoS I picked up three jeeps to complete some extra brigade HQs for the British.

The final units completed!
 OK, I will probably add a few extras from time to time - but that's the joy of completing a project - one or two items are not a big job but can add that extra flavour to a particular scenario or even extend the period.  I could tropicalise some German para's to fight in Alamein, Tunisia and Sicily.  I am very tempted to build a Herman Goering Division to fight in Tunisia and Sicily so I can add Nebelwerfers, quad AA, PzIIIN etc.  And already partially built are my Vichy French, who will withstand Mark's Americans in the Torch landings, then switch sides to fight the Axis - as well as fight a major campaign against the British in Syria and Madagascar.  But maybe I should concentrate on finishing my other projects first!

2 years of rebasing.
In the meantime, I am still progressing with my desert terrain.  The cultivated areas are now completed and I am half way through the mountain ranges - although a railway embankment and tunnel complex are tempting me to expand this project.

The base boards for a desert city scape are in place and I am painting up various buildings for potential use in Tunisia, Sicily and, my latest project, the Iran-Iraq War - which I will post in the near future.

I will re-visit my "thinking out loud" post before long and evaluate my progress.  However, I have a raft of games lined up and I need to get them played!

Tuesday 17 July 2018

Modern Spearhead: Luftwaffe Victory Flypast

I have re based my West German Aircraft to match my ground forces and employed a clear acrylic 3mm rod to stand them on. When sat on a terrain table the rod disappears

I am quite pleased with the outcome and am going to employ the same method using thinner acrylic rods (I can get 1mm thick) for my General Quarters WWII British Navy Aircraft.

From left to Right :Bolkow 105, Alpha Jet, pair of Tornado's and trio of F4 Phantoms, the middle one, in Austrian Air Force colours (another NATO ally everyone forgets)


I have more helicopters, both attack and transport to base. I need UH-1D , CH53 and NH60 helicopters for some of the support elements or my Airborne Division and some Transall C-160 transport aircraft for dropping paras. I'm also short a few more Alpha Jets and depending on scenario and decade I'm going to require a couple of F104 Starfighters.

10 ways in which the Finns denied Soviet domination in WW2

A great little video - watch it here.

From targeting Russian field kitchens through saunas to reindeer.  And the Battle of the Sausages.

Interesting stuff!


Friday 13 July 2018

Napoleonic naval wargaming

We tried out a new rule set last night - I think its called Fighting Sail - and very good it was.  Simple but effective - and we all picked up the gist of them very quickly.

Russ moving his frigates in for a rear attack

Given that its sail, the wind direction has a major impact on how battles are fought - and using the wind to your advantage is a key part of the rules.

Movement is determined by obtaining action points - the smaller (and hence more manouverable) the ship, the more dice you get.  Each 6 means a point.  The big lumbering beasts have less dice and so are more likely to come to a stop (and therefore become vulnerable) BUT they have many more Gunnery dice to inflict damage with and more hull points to absorb punishment.

First battle - Russ' ship going 'neath the waves

We learned quickly that if you fail to move, you will suffer.  And if you gang up on one ship, this is bad news for the one ship in question.  Also if you manage to rake a ship (i.e. attack its prow or stern head on) this is very good for you and very bad for them.  So nippy ships can sneak up behind slow lumbering ships that have become becalmed and give them a very nasty surprise).

In the first battle, we had 1 ship each.  Mine got stuck early on but Russ kindly pointed his ship right at my broadside and the damage myself and Frank inflicted was enough to sink him.  Mark then faced us alone and got the same treatment.

In the second game, Mark and Russ had more ships (4) which included two frigate and two ships of the line while I had a second rater (lots of guns but a pig to move) and Frank took two third raters.

Basically one of Frank's ships had to take on the two frigates while his other ship and mine were due to take on Mark's two ships.  As it was, Frank's second ship stopped moving so I moved the bigger ship up to cover and then stopped moving myself.  There was considerable gunfire on both sides but with my ship stuck in front it took the brunt of the firepower and eventually succumbed.
Second battle - trading shots and losing badly


Frank meanwhile sank one of Russ' frigates but his smaller 6th rater managed to save - twice - against multiple shots and emerge unscathed!  Even when raked at point blank range! 

I took over Frank's second ship and managed to get that sunk as well (fighting two ships is tricky to say the least)

Coup de grace of my second ship


I've already ordered a starter fleet from Tumbling Dice so you can guess that I really enjoyed the rules and the period

Sunday 8 July 2018

Mark and Ian's Big Day Out.

Next Sunday is the Joy of Six when Mark will be putting on "Austerlitz".  Traditionally, we wend our way to the show on the Saturday via war-games/military themed points of interest before hitting the centre of Sheffield.  Memorable visits have included Bosworth, the Armouries, Imperial War Museum and Caliver bookshop.
This year we are leaving early on Sunday morning and doing the show in one day.  However, we thought it might be a good idea to see what we could get up to in this area and save the money on a hotel.  The following is our current list of objectives.
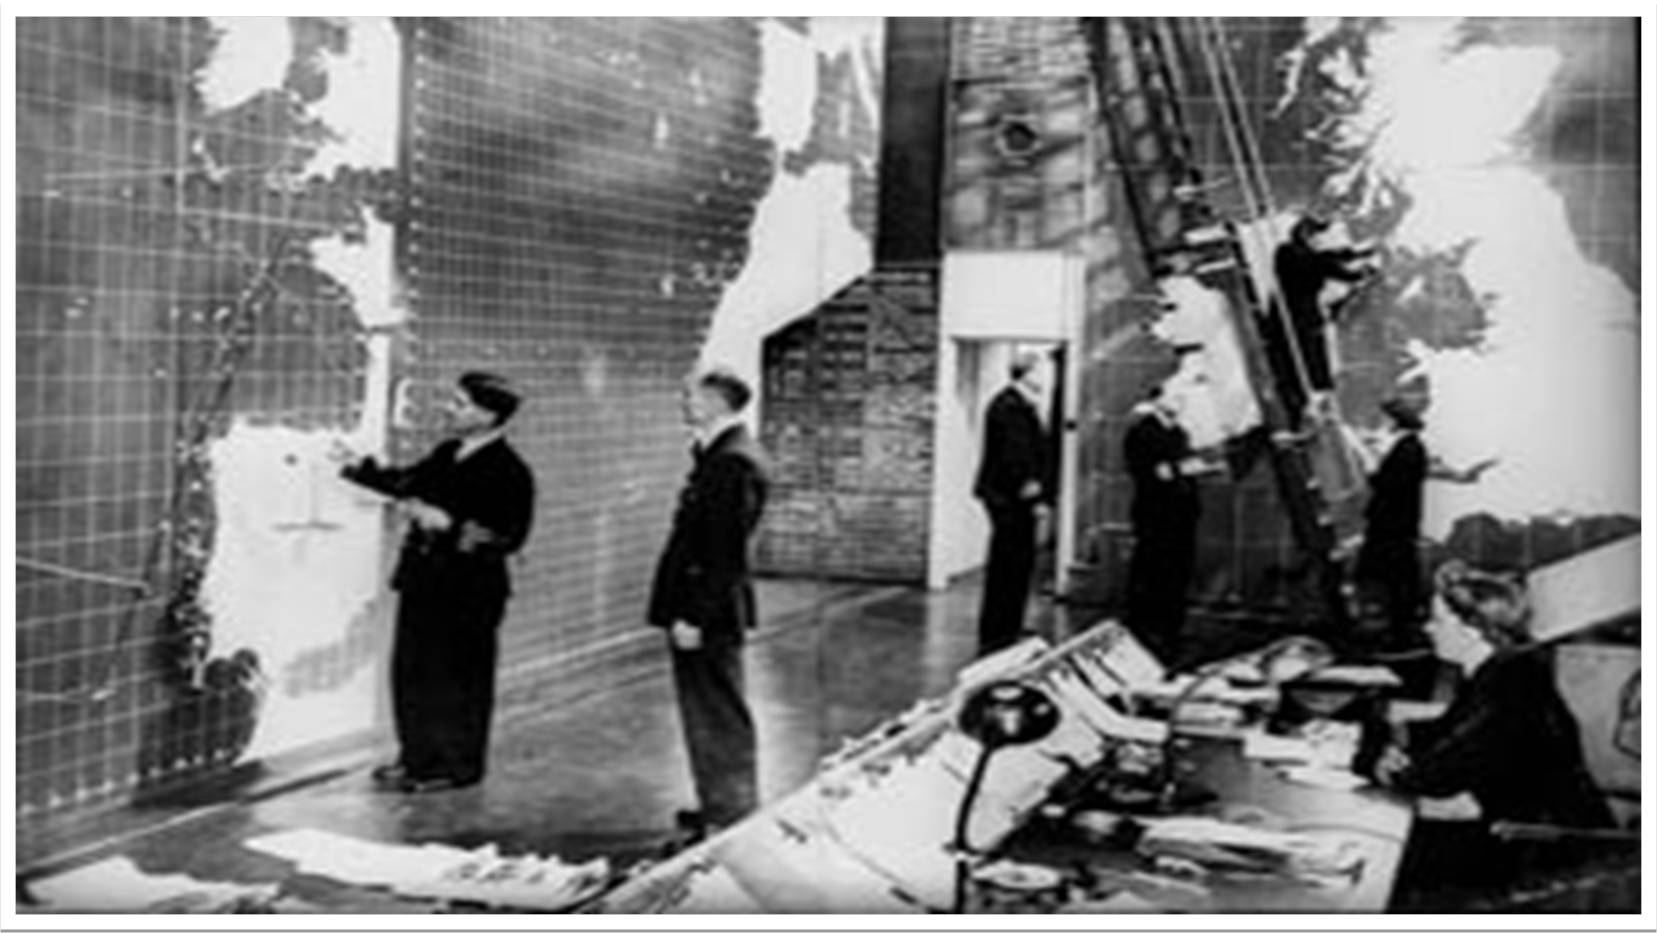
Image result for western approaches liverpool
Western Approaches Museum, Liverpool
Image result for greasy spoon liverpool
A suitably refined establishment for breakfast.

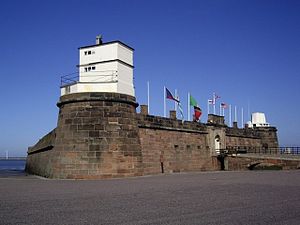
Fort Perch Rock, New Brighton-by-Tom-Pennington.jpg
Fort Perch Rock. 

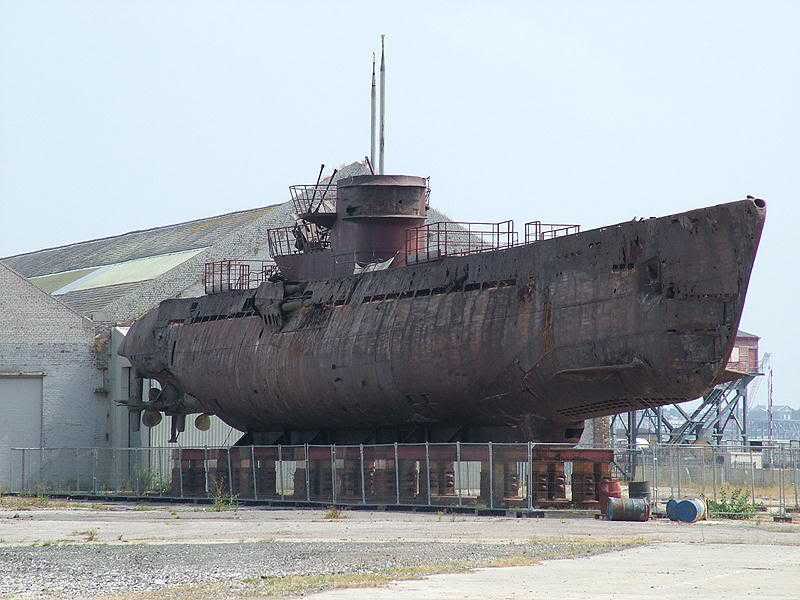
Image result for u boat birkenhead
The U-boat at Birkenhead - although their flimsy basing technique might be in danger with a visit from Mark!
Image result for cheshire regiment museum
The Cheshire Regimental Museum.


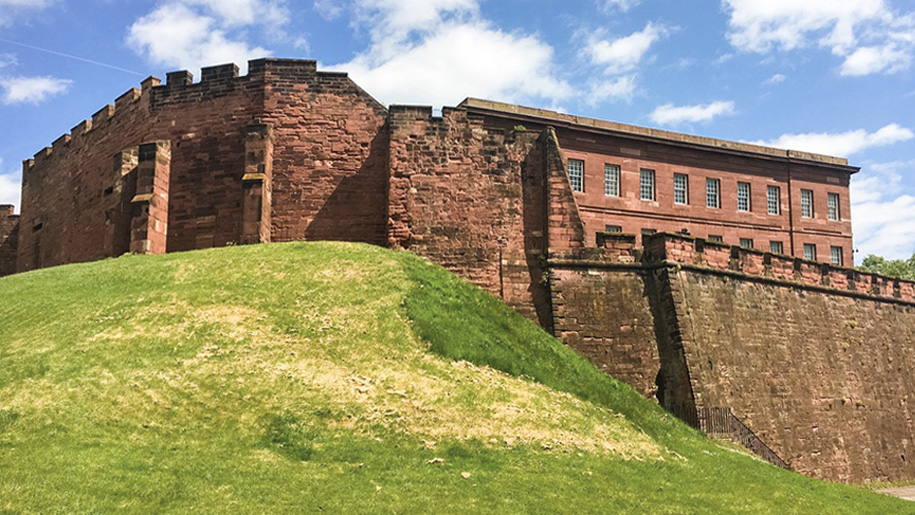
Image result for chester walls
The city walls of Chester, which may include a beer or two!

Image result for zulu movie
A curry/BBQ may well complete the day with the blue ray version of Zulu for evening entertainment.  The superb 1971 and 12 days will also be on the menu or do we watch Waterloo to get us in the mood for Austerlitz?

Other objectives may get included but I must admit I'm looking forward to next weekend!


Saturday 7 July 2018

Novi 1799

Thursday night game using Fast play Grande armee rules

French holding the high ground 
Austrians near ground Russians far 

Strong French position

Russian reinforcement arriving

Austrians holding until all allied forces are committed
Russians swing right and attack pushing up and onto the hill

Austrians make it up onto the plateau

French reserves committed to drive Austrians down the hill
Austrian reserves arriving could tip the ballance
Time gentlemen please!
French held on, another couple of turns more and they could have been overwhelmed


Liebertwolkwitz, 1813

Thursday night game using fast play Grande armee rules
French to the left
allies to the right comprising of Austrians, Prussians and Russians

French commander Murat gathers his cavalry divisions and swings a right hook

Austrians push on Liebertwolkwitz top of picture with the aid of Russian infantry in the centre.
Prussian infantry and Russian cavalry refuse left flank and await the french hook

Russian cuirassiers

Action along the line 

Local French commanders retire from left flank due to dodgy dice rolling
Time gentlemen please!
Result - undecided, French pounded but Russian left wing cavalry gone.