Showing posts with label joy of 6. Show all posts

Monday, 27 May 2019

Mark does have good ideas!

The first of 22.  This represents a British Infantry Brigade with HQ, 3 x Infantry, 1 x AT and 1x mortar.

A few weeks ago Mark and I pretested the operational game for the JoS.  He suggested using a large movement tray on which a number of individual bases can be temporarily stuck to quicken the game and give a better impression of a unit that will be representing a brigade.  I initially pooh-poohed his idea as this would require extra prep which I was trying to avoid.

Well, I gave it some thought and came around to agreeing with him.  I had some mounting card which I cut to 6" x 4", glued on some sandpaper, painted, dry brushed and washed - and there you go!

I think this might be a good process for doing town sectors, minefields etc.

.....and the moral of that story is never pooh-pooh Mr Shakespeare!

Tuesday, 30 May 2017

Bull Run update and rehersal

Saturday was rematch day on the new improved Bull Run table. The rules were the first edition Brigade level Fire & Fury. Russ (Rusty) Russell opted to take the Union ,his mission to destroy the Confederate forces commanded by Ian (the Hand Rubber) Taylor and march off the table to Manassas and end the Rebellion before it could gain momentum and thus restore the Union.  The Confederates would win if they could destroy the Union forces and for a major victory pursue them across the Stone Bridge and into Washington thus endorsing the Confederacies claim to independence.
All quiet here. Russ even has time to say hello to the dog who spent most of the afternoon cowering behind his legs whilst a thunder storm raged outside.

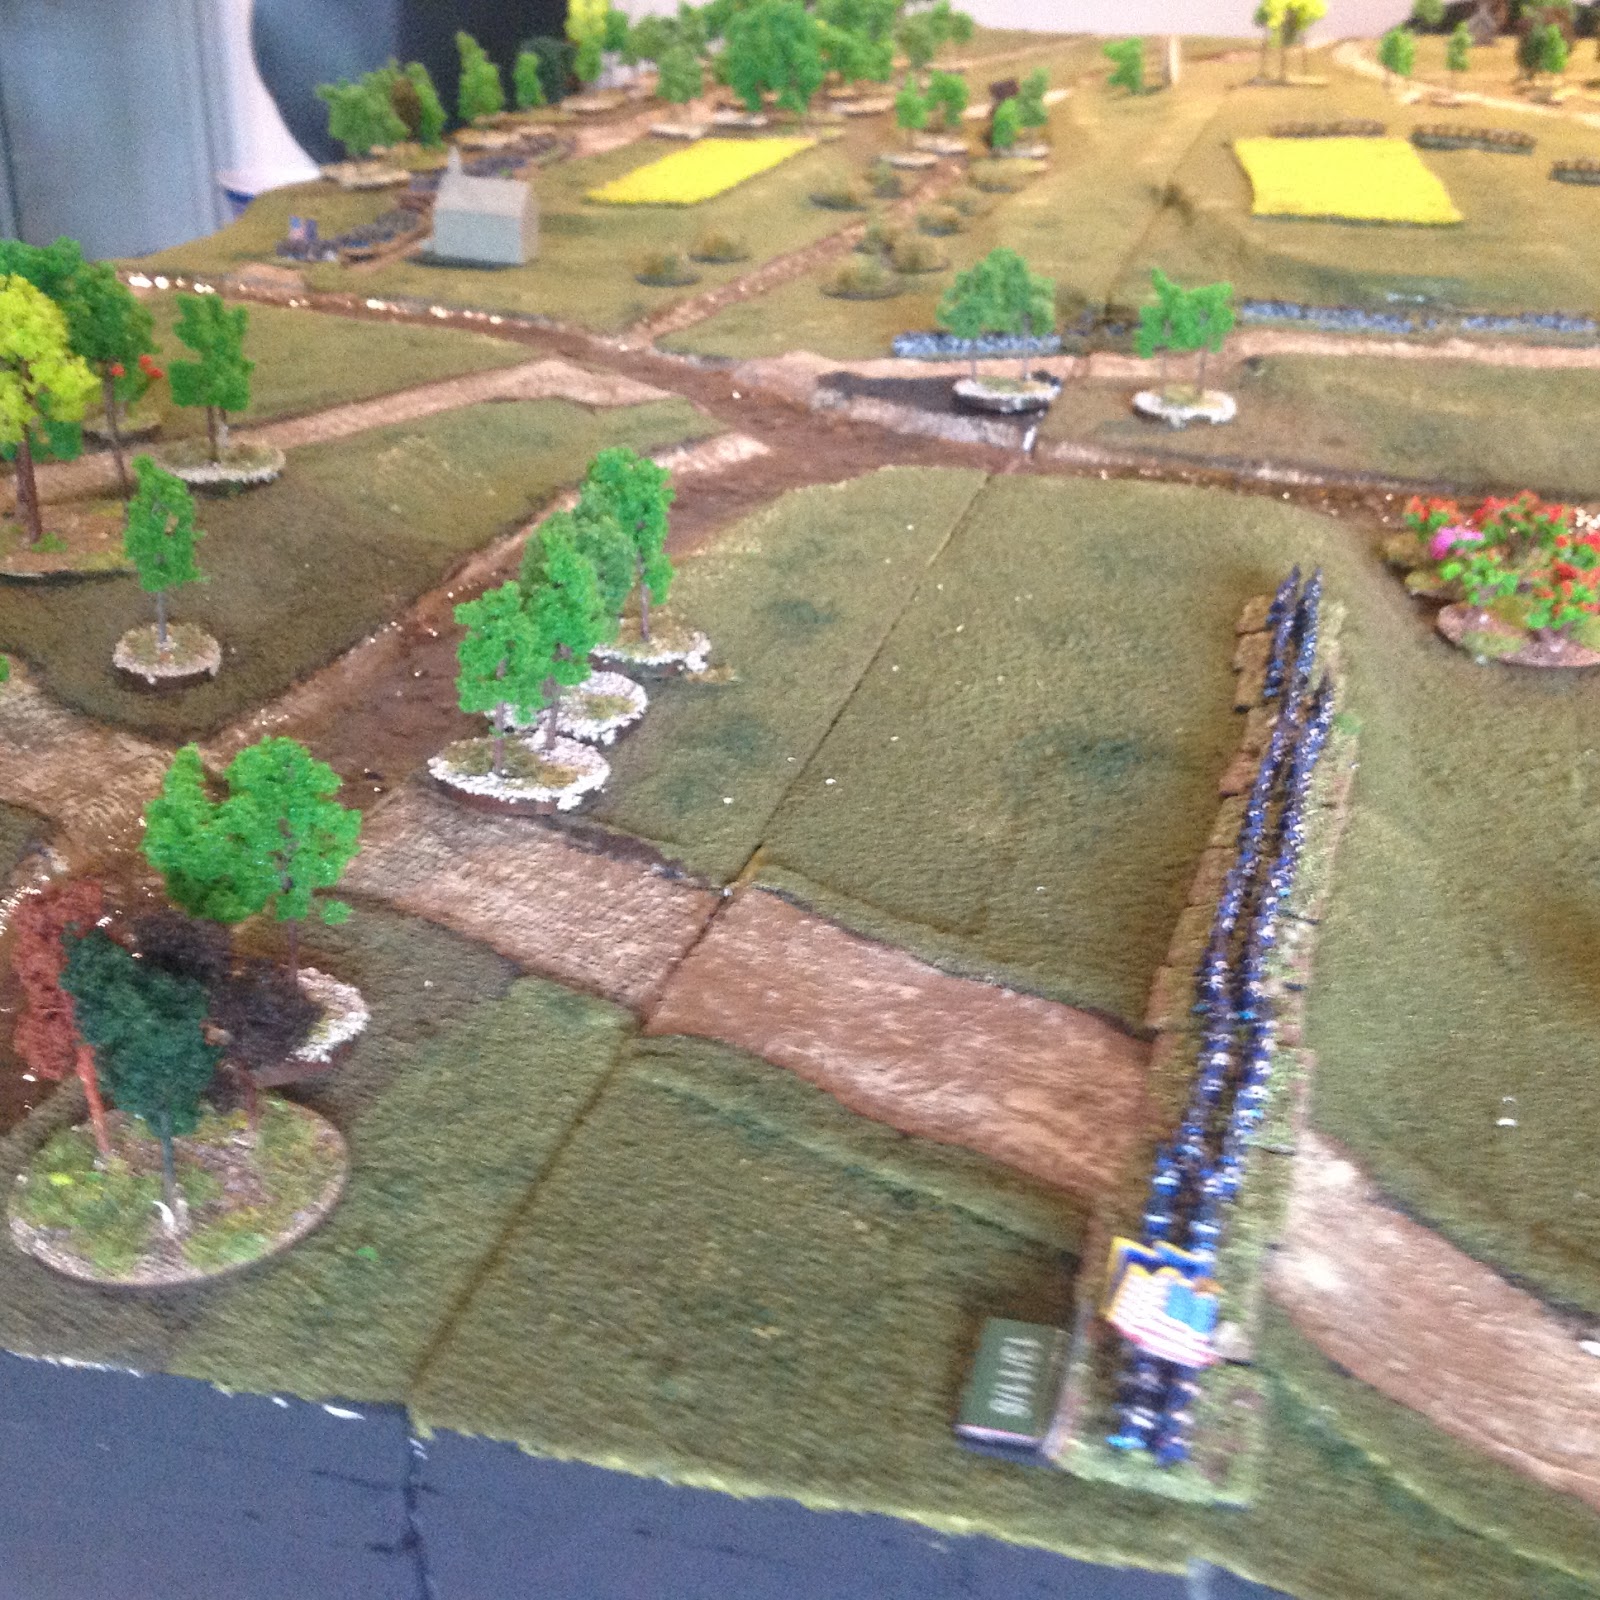
The rebel extreme and undefended left flank at the small town of Groveton. In the distance ,having spotted Colonel Evans small brigade, Hunters Division has formed up for an attack.

Hunters division,(two brigades of infantry and one of cavalry prepares to advance against Evans' forlorn hope at top right.

The Federal artillery pushes forward to take put Evans under fire

Failed order rolls mean that the Union brigades advance falters buying the Confederate commander time

Colonel Evans' small brigade stands atop a small ridge and awaits developments before scooting away toward the ford.


Federal reinforcements arrive and march on Groverton , their mission to outflank the rebel defenders

Evans has fallen back to the ford and now stands beneath the covering fire of the rebel artillery on Henrys hill.

Robbed of their prey the Union push their guns forward ahead of the advancing infantry.

The federals approach the town

Evans charges the still limbered guns and destroys them. The Union infantry counterattacks but due to some horrific dice rolling by Russ and some inspired rolling by Ian the small Confederate brigade pushes the Federals back. (Russ' dice were awful for most of the afternoon, especially in close combat) 

Evans has bought time for the first Confederate reinforcements to reach Henry Hill....


but at a cost. The enraged union brigades fall in huge numbers on Evans' isolated men and his brigade is wiped out.

The Federals have crossed the Fords at Groverton and deploy to threaten the Rebel left....

but Jackson has arrived and his Brigade supported by that of Bee and with General Beauregard in close attention begins to deploy on the far side of the ridge.

Meanwhile on the Rebel right flank a viscous fight had developed that would last the entire day and would sway back ward and forward across the ground before the water mill. Two large confederate brigades pushed up to the ford and supported by two batteries of artillery held it against an entire division.   

The double line of Union Brigades pushes at the thin line of Confederate defenders but the South won't give up the ford and the Yankees bounce backwards in frustration and lost stands.  

In the centre and finally free of the Evans irritation the Federals begin to get ready to advance once again

ahead of them Hamptons small battalion has moved into support the Rebel batteries on Henry Hill and the long range fire continuous to harass the Unions attempt to coordinate an assault.

On the left a second Union Brigade moves through Groverton...

to join its sister Brigade facing Jacksons Virginians.


The federals mass on the banks of Youngs branch...

whilst the Rebel guns continue to cause confusion.

On the right a dwindling Federal brigade again tries to force the ford but more failed order rolls mean that the brigade goes in unsupported and raked from both its flank and front..

it finally breaks and flees across the Stone Bridge to the Federal rear.


On the Left the Union continues to mass..


whilst on the right an uneasy long range duel commences with neither side wanting to force the issue.

In the center the union brigades finally wade across the stream..

whilst on the left the two Union brigades finally engage, but..

desperate local Confederate counterattacks and yet more inspired dice rolls force the Yankees back as more Confederate brigades begin to arrive on the battle field.

It was at this point that the Confederate commander announced that he had to go home as he wasn't allowed out after dark (something about turning into a pumpkin) and we called a result. The Confederates had held and the Union looked like they were going to run out of steam. Having destroyed more units than the Yankees the Confederates achieved a minor victory. The sacrifice of  Evans' brigade in destroying the Federal artillery, delaying the Federal advance and the stubborn defence on the right by the Water Mill proving pivotal. The war would continue until its inevitable and costly end  in the Confederate surrender at Appomattox Court House four years later.

Friday, 7 April 2017

Bull Run Update

I'm about 40% of the way to completing the table for Joy of six and as requested it's probably time for a few photos. I've started at the Stone Bridge/Manassas end of the table (where Ian's Union forces entered the table during the xmas game).. The pictures show boards that are either finished,need a little touching up or are at plastering or flocking stage. All the hot wire cutting has been done so I know the lay of the land. I need to paint the wooden bridge and the ends of the rivers need sanding where the resin has expanded so that the boards sit flush and after some research I have discovered that North American river grass is green so I'm going to change that and I'm going to flock the board edges so that if there are any small gaps between boards hopefully they won't be as obvious.

Mary doesn't think the photos do the boards justice ,especially the water effect but here goes.

Black areas are either undercoat for roads, rivers or woods

Union left flank entry point looking from the middle of the Bull Run river toward the confederate positions (Henry Hill is the white unpainted polystyrene at top right), the stone bridge is round the bend in the river behind the woods. I am going to replace the yellow river grass with green since every picture I have found is that colour.  (Yes Mark, those are stormtroopers still in there boxes in the display cabinet). The wooden bridge in the centre needs painting.

The Stone Bridge crossing the Bull Run. The river needs sanding at the end as the resin leaked slightly from the dam I placed at the end during setting, but once that's done the two boards should sit flush and the gap disappear . Youngs Branch the smaller water course that runs through the centre of the battlefield can just been seen through the trees at middle left .The board in the center just need the roads and river preparing and then i will add the water effects to it. The crossroads that the figures are approaching has been created with plaster of paris, painted black, then sprinkled with small ballast to give it texture. It will then be painted with two shades of brown and a light dusting of dirty white. 

Youngs Branch. Unfortunately my camera hasn't done this justice as the river is shallower than the Bull Run and you can therefore see the river bed

The Confederate entry point. Manassas (the Federal objective is behind you. Henry Hill ,scene of the worst of the fighting is directly ahead through the trees. The Stone Bridge is to your right.

View from the Confederate positions . Henry Hill is to your left and the Stone bridge is on the other side of the trees to your front

This pretty much shows how each board is developed. I'm getting better with each board and revisiting the first ones each time I learn something new.

A slightly better shot of the Branch, but still lots of light reflecting from the surface so you don't really get the full effect. You will just have to see it in the flesh

No table is complete until some boots have marched across it and these guys are about to get their feet wet. See how the felt fields blend so nicely into the flock. I also need some single trees basing on 15mm diameter stands so that they sit better on the tables. The bigger stands are okay for large woods but many of the wooded areas are quite small.

Next section of the Branch ready for painting ,dry brushing and then the addition of river bed, vegetation and water. In the centre of the picture is a piece of raised river bed that will become another of the fords. Again ,I also need some single trees basing on 15mm diameter stands so that they sit better on the tables. The bigger stands are okay for large woods but many of the wooded areas are quite small.

Early stage of board development. Painted undercoat for fields, woods and roads. The roads have been created by laying down strips of Plaster of Paris which can be laid across contours. The edges have been folded over to create a verge.

Basic stage. This is Henry Hill. Ready for PVA to stick hills down, application of Plaster of Paris to create the smooth contours and roads. The board to the top left is drying after application of green flock and dark shades and light highlights .Next stage is to flock the areas that are wooded and then finish the roads.

You can only just see it in the picture but the parallel pen lines that run from the sticker at bottom left to the bottom right are where the Bull Run re-emerges at the rear of the Federal positions and runs almost two thirds of the way across the back of the table. This is the reason that the Federal forces attempting to outflank the confederates had to go on such an extended march. 


Wednesday, 15 February 2017

ACW Rules: Week Three:Charging

I will give you three seconds! Exactly three f**king seconds, to wipe that stupid grin off your face, or I will gouge out your eyeballs and skull-f**k you!


Simple Charge :One V One
The confederate brigade bottom center has elected to charge the Union Brigade at top. To do so it echelons with the center of the attacking brigade moving directly toward the nearest point of the defending brigade.
Contact! Fire is resolved first. Note if the attacking or defending brigade becomes disordered as a result of fire, that is carried into the close combat ,however a brigade becoming worn or spent as a result of this fire is not. The units effectiveness level stays the same from the moment the unit is contacted until the close combat is resolved. This includes a second round of combat if the first is a desperate struggle (draw).   In this example neither unit is disordered ,neither unit has a rear rank so has no support, both are fresh (+2), the Union unit has a 3:2 advantage on numbers (conf -1), and the Confederates are charging (+1). Its then a die roll off.

Simple Charge :Two V One
The Confederate player has decided to push a second brigade into the combat.
The unit on the bottom left has wheeled right and now charges with its center toward the nearest part of the enemy unit. It did not START its charge with two of its stand behind the front of the Union unit so is not outflanking it
Contact! Note the Confederate player does not get a second +1 modifier for Confederates charging but can now put more fire onto the Union unit and is no longer outnumbered so does not take a -1 . As there is a 1" gap between the two confederate units that charged, the unit at the bottom can fire at the defending unit also. The Union unit will be able to split its defensive fire across the two charging units BUT the union stand 3 from left cannot fire, as no target is within its 45degree arc and a brigade cannot split its fire more than twice.

SUPPORT

A rebel 7 stand unit in supported line has charged a yankee 6 stand unit in Line. The Rebel unit is counted as supported +1, the stands in both its front and rear rank can fire in the close combat and count in the fight. It is NOT a dense target.
A single 4 stand rebel brigade in LINE has charged a 6 stand yankee unit. A second 4 stand rebel brigade has moved up  behind the first also in LINE. Because it is within 1" of the front line of the clash the First rebel brigade is now supported. The stands from the supporting brigade can also fire and count toward the close combat numbers. Should casualties be taken they should be removed from the Leading Brigade First, then the Rear Brigade and then the Leading and so on. If the attacking brigade is driven back and /or disordered the supporting brigade is also driven back and/or disordered and if the worst happens and the attacker routs the supporting brigade goes to.
Even though this rebel unit is with 1" of the attacking unit it is NOT supporting although it may fire on the defending unit. To be supporting over half its stand must be directly behind the first unit and within 1" of the clash
Rebel unit in the bottom center is NOT supporting the attack of the other two
A single 4 stand Rebel unit has charged a 6 stand yankee unit. A second 8 stand Rebel unit in supported line has moved up behind the first Rebel unit. In the close combat that follows the First rebel unit is now supported (+1) but only the second rank (the first rank of the supporting brigade) may add its fire and stands into the close combat. The third rank are just cheerleading.
A Rebel 8 stand unit in supported line has charged a 6 stand Yankee unit. A second 4 stand unit in line has moved up behind it and a third 3 stand unit has moved onto its left. The 1st rebel unit counts as supported because it is in supported line formation (+1). The second rebel unit takes no part in the fire or close combat that follows. The third unit can fire on the defender but does not count as support.

Multiple Units

Mahone Brigade (4stands) has charged a 6 stand Yankee brigade. Lanes Brigade (5 stands) has also charged and contacted the same brigade. Because both Brigades have contacted the enemy the full strength of both brigades is added to the combat. However the yankee unit has a Brigade in support(+1), and the four stands in the front rank of the supporting yankee unit can fire and will be added to the close combat. The third rank takes no part in the action. To ensure success the Confederate player moves Wright up to support Mahone adding his 4 stands into the fire and close combat and Wilcox up to support Lane therefore adding his 3 stands to the fire and close combat. Note the confederate player only get a +1 modifier for support. It is not cumulative. If the Yankee unit is pushed back etc the supporting brigade is also pushed back. If the Confederates are pushed back all four rebel brigades will be pushed back.  In the event of a breakthrough all four rebel units will move forward.

Incidental and Participating Units
Only a defending unit can be Incidental. Attacking units must either be in contact, support or taking no part. An attacking unit cannot move to within 1" of an defending unit without intending to charge that turn.
Two rebel units have charged and contacted a yankee unit. All the rebel stands will take part in the close combat. However a second yankee unit is now within 1" of the front line of the assault.(it can also be contacted incidentally)  Less than 50% of its stands are to the enemies front so the second yankee brigade becomes incidental. It may fire and also ADD UP TO half its strength into the combat. It MUST add at least ONE. It does NOT count as Supporting the first
As an Incidental  it does not suffer the fate of the defending brigade but if the defender loses it must wheel or refuse stands to allow the attacker to occupy the defenders ground.
Similar situation accept now over 50% of the second unit is to the enemies front. Even though it has not been contacted it is within 1" of the front line and so is NOT INCIDENTAL but PARTICIPATING. Its full strength will count toward the close combat resolution and it will suffer the same fate as the unit that has been contacted. It does NOT count as supporting.

Artillery Batteries in Close Combat
Artillery Batteries have NO Flank. An artillery battery that is not touching a friendly infantry or dismounted cavalry stand counts as Worn when Normal in Close Combat and as Spent if it is Damaged. A limbered artillery unit must immediately attempt to fall back its full movement. Having done so the enemy unit may continue to move and if it catches the limbered artillery it is destroyed. An artillery unit that is touching a friendly infantry stand or dismounted cavalry stand is attached to that Brigade, and even if it is contacted on the end of the Line, the Infantry brigade counts as being contacted, not the Artillery and the artillery stand just becomes an extra stand in the Brigade sharing its fate.

And so ends Week 3. If you still have the guts join us for week 4. Live firing exercises