Friday, 11 November 2016

Magnus imperetor

based on the fast play Grande armee rules
this week Greeks v Persians
Greeks left Persian right

Square Hoplite bases with round skirmish and cavalry bases

Persian light horse, like swarms of bees difficult to pin and destroy

Medes infantry reserve, plenty of skirmish capability


Persian immortals and apple bearers take the central hill

Medes infantry try to sweep to Greek right flank,
A reluctant commander (-1) lost his nerve and fell back twice


Greek hoplites close in on the hill


Persians hold the hill at days end and as neither army broke it was called a draw


Operational game

Americans attacking this time


Wednesday, 9 November 2016

Basing 6mm aircraft

It is a tricky business, basing aircraft.  By nature, their base has to be planted 'on' the battlefield and yet they have to also be above the battlefield.

I've tried a number of methods - from drilling holes in the aircraft to put the holding wire / strut / whatever into it (and usually for 6mm aircraft drilling right through from the bottom of the aircraft and through the cockpit) to using BluTak or similar.

But now all is ease and comfort with the use of neodymium magnets.  They come in a variety of sizes including teeny-tiny which is great for 6mm.  I use larger magnets for larger aircraft and smaller magnets for smaller aircraft.

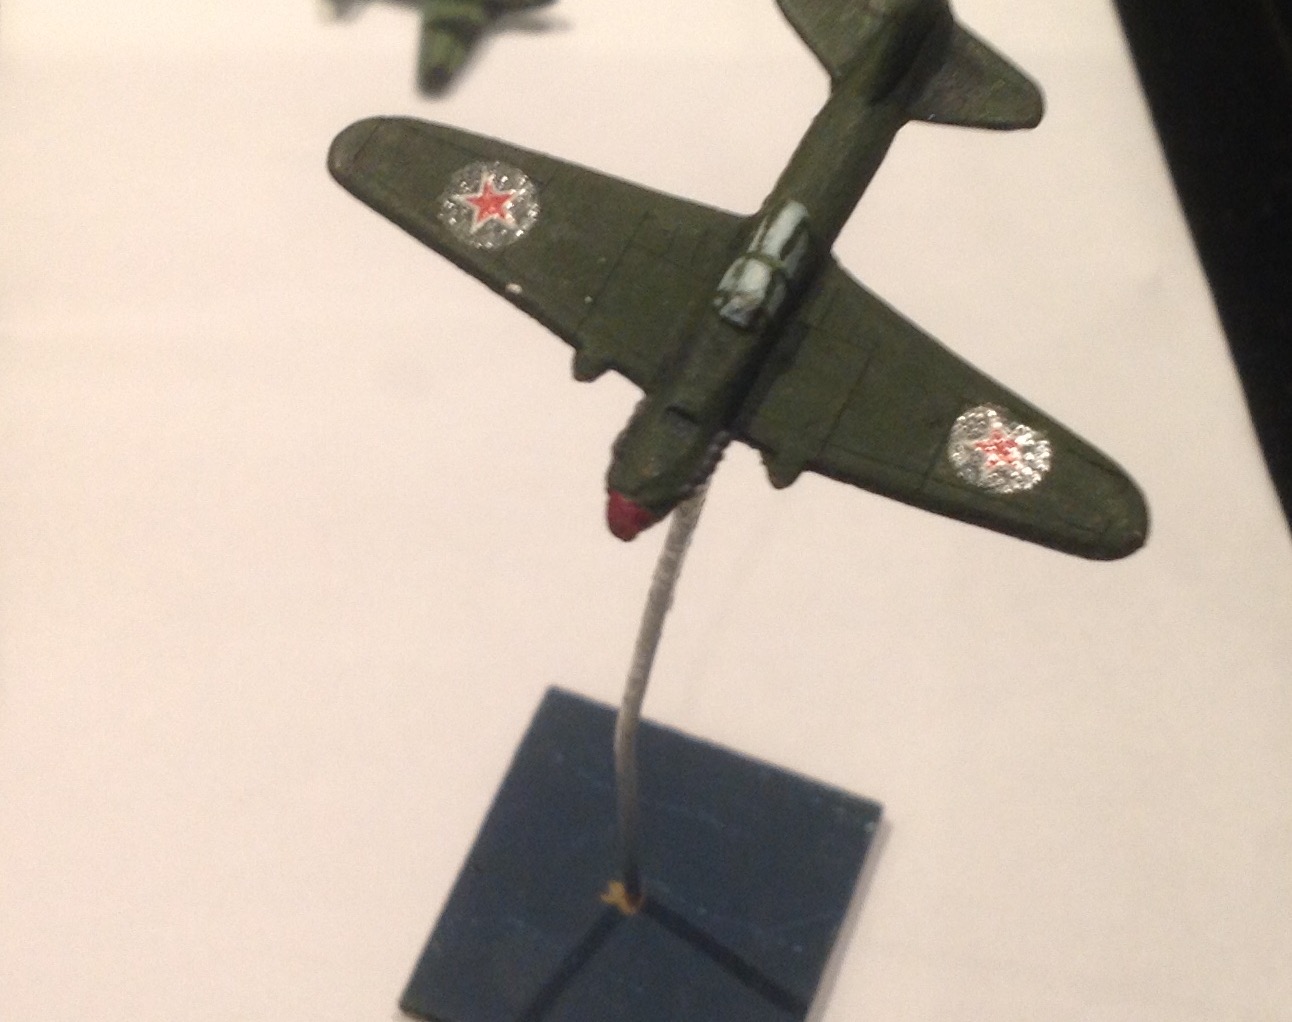
Magnet attached to centre of aircraft.  Ignore paintjob - I bought them off Ebay like this and will be repainting in winter colours soon.  As the Sturmovich is a heavier plane, I use a larger magnet


The secret is to find the centre of gravity of the aircraft and stick the magnet there...not much science but it does stop them toppling over...

The really important thing though is to remember the polarity of the magnets and ensure that all the magnets on the aircraft have the opposite polarity to the magnet on the base.  Otherwise you will have the heartache of trying to prise a superglued magnet off a plane which then becomes attached to your hand.  Or worse you end up with planes that absolutely refuse to sit on the base designed for them and push them away at every opportunity.

Making the bases is fairly straightforward.  I use square bases the same sizes of the troop bases in Spearhead (the rule set the aircraft are used for).  This allows the bases to line up so you know which plane is attacking which unit.  I use a hollow metal tube pushed and glued into a hole drilled into the middle of it.

Base - not yet painted as it will be done in winter colours.  You can see the bead at the top with magnet glued on.  Also on the Russian aircraft you can see the smaller size magnet for teeny planes.
Make sure the tube is staright - if its at an angle the plane will topple.

 Length of tube is quite important as well.  Too short and it will look like its about to crash land but too long and it will invariably topple over given the slightest nudge of the table...crashing to its doom.  Around 3-4" seems about right.  6" for heavier models is asking for trouble as they will be severely imbalanced.

And the right way up. Tube length is just less than 4" 
At the business end of the metal tube I've learned to attach a bead.  This is because gluing a magnet to a hollow thin tube does not give much surface area for the glue to gain purchase.  The bead just gives a bit more area for the glue to bite on.

Use Superglue (I use Gorilla Gel which is great).  Ordinary glue just doesn't cut the mustard.

Once dry on both aircraft and base, its time to try them out.  If you have the polarity correct, the plane attaches to the base with a satisfying 'click' saying that you've done a good job.


Larger plane (Sturmovich) on the same stand.  As you can see, no problem with stability.

Tuesday, 8 November 2016

Destroyed vehicle markers for Spearhead

Unsuspecting Stug in winter colours 
Mark asked me to knock up some markers to show knocked out tanks for our Spearhead WW2 battles.  Leaning heavily on Big Lee's original idea I have created a simple item that sits on top of tanks of any size.  Bent wire, stuffing material and black spray paint and voila!

The wire is bent in a U around the front (or back) of the vehicle. Then twisted up and over the top of the tank.  The polyester material (I suspect it is polyester) is then glued to the wire and twisted to give the plume effect (wider at the top than the bottom).

Each time a vehicle is knocked out on the battlefield, a marker is placed over the top to show the progress of battle and who lost what where (the tanks are therefore left in place rather than removed).

The same markers can be used on trucks, AFV's etc. as well as knocked out guns and bunkers (maybe smaller ones for the guns...)


The same Stug close up traversing tricky terrain (our couch)
Boom!  Russian ATG gets him.  


The view from above - bail out Fritz!