Sunday, 11 June 2017

War Of The Roses


Talking with Mark yesterday I suggested an idea to get his War Of The Roses H & R stuff out again and use the DBA 3.0 rules so we can play the larger battles of the period with relatively little work and also a set of rules which plays very fast and works well.

I am hoping Mark will be sport for this as it's going to be a doddle to make it happen.


In DBA 3.0 you can increase the base frontage to pretty much anything you like and providing base depths are calculated in line with the ratios in the rules this will allow Mark to block together large visually stunning units.

Historical guidelines are provided in the rules

An element of foot equals 500-600 men or 1000 horde whilst an element of cavalry equals 250 - 300 riders.


So.....


Mark - please use the following guidelines and see what you can build using the army lists below.

I don'y know exactly how much stuff you have painted bu remember it being "a lot"

I have multiplied x 3 the basic 12 element lists but there is no reason why this cannot be x 4 if you have to figures.

War of the roses armies 1455-1485 OR Tudor army 1486-1515 AD

3 Generals (4 blade or knights), 3 x currours (Cav) or border staves (light horse) or unreliable levies (7 Horde), 12 x stiffened billmen (4 blade), 12 x archers 94 light bow), 3 x guns (art), 3 x Welsh (pike) or Irish (3 Auxillia) or ment at arms (4 blade / 3 Kn) or mercenary handgunners (PS)


Rebel Army of Henry Tudor 1485 AD

1 X General (Henry) CP - special rule for this unit) 2 x Generals - Exiled men at arms (4 blade), 12 French Pikemen ( PK) or French Voulgiers (4 blade), 9 French Voulgiers (4 blade) or stiffened English or Welsh billmen (4 blade), 6 x English or Welsh archers ( 4 LB), 3 Guns (art) or mercenary crossbowmen or handgunners (PS)

Rebel Army of Lambert Simnel 1487 AD

3 Generals ( 4 blade), 3 billmen (4 blade), 3 Archers (4 LB), 3 mercenary German and Swiss Pikemen (4 PK), 3 x Irish galloglaich (4 blade), 9 x Irish Kerns (3 Ax), 3 x Irish Archers (ps) 3 x mercenary crossbow or handgunners (ps)


Base widths at 60mm have following depths

Knights 40 - 45mm
Cavalry 40 -45mm
Light Horse 40-45mm
Pikes 20-30mm
Blades 20-30mm
Auxillai 30mm
Bows 30mm
Psiloi 30mm
Hordes 40-60mm
Artillery 80mm

I am conscious of your base sizes so if they are all 30mm or 20mm square it should be easy enough to calculate your base depths. It's important in DBA to represent the depths as close as can be for push back reasons.


That's all the lists from the rule book for the period and is a foundation to build on.

I would almost certainly look at modifying the army break / morale. As written once a command loses a 1/3rd of its elements it becomes demoralised and you can only use pips to hold units, the remainder break off the table

We can work on this but I think applying a -2 to command pips would simulate a loss of command and control in that command. If you roll a 1 or 2 you are not doing anything with rolls of 3 or better needed to issue pip dice.

Probably keep to the rules for overall army break which are lose 2 commands or 50% of total units lost.


Have a play with these lists Mark and blog some photos of what you can conjure up to form 2 armies from the lists above.

We can have a go of this in July after the next Spearhead operational game has been played.


Saturday, 10 June 2017

Operational Desert Terrain (Right Flank)

Table 1C - Frontier Fort
Table 1D - El Bir (Desert Well)


Table 2C - High Ground
Table 2D - Wadi and Junction Point.


Anti-tank ditch, Strong Points and High Ground.

These are the right flank tables.  The road (Via Balbia) gives movement bonus.  The Italian fortress acts like a giant village sector, -1 cover and fire in all directions.  The Wadi is impassable to vehicles except at the passing point.  The high ground allows FOOs to spot dust in adjacent tables.

Friday, 9 June 2017

Operational Desert Terrain (Left Flank)

Table 1A - Ridge Line

Table 1B - Cairn Navigational Point


Table 2A - Minefield
Table 2B - Minefield and High Ground


Table 3A - Airfield (3x Village Sectors)


The above are the left hand tables from the perspective of the defenders.  Mark is laminating them so that the CinC's of both sides can draw their orders whilst the frontline players can mark on enemy units (very important for giving additional objectives for orders).


Wednesday, 7 June 2017

Saturday is Star Wars Armada Day!

Mark... just recapping on what he should of done.....


Mark and I finally get to field 1000 point fleets on Saturday, something which we have looked forward to doing for some time. With the Ante upped things will be very much different to what we have been used to playing at 400 point tournament level.

I am sure Mark has spent just as much time on his fleet build as me and it will be interesting to see exactly how this pans out. The rebels have massive resources to field a squadron heavy fleet backed up with rogue support and a lot of medium sized ships while the empire is sure to be fielding some bruising star destroyers backed up with corvettes and a load of mega upgrades.

Battle report to follow soon......


Modern Soviet Infantry

Some pictures of my first lot of painted and based infantry for modern spearhead.

Figures are H & R,....


I have loads more stuff in work in progress which I'll post as and when I get stuff finished.


Thursday Night Game

7th Armoured's first clash with the Italians

A small game featuring a superbly trained but poorly equipped 7th Armoured sparring with a more numerous Italian foe in an initial confrontation on the Libyan/Egyptian border.  I thought this would be an easily managed game that would give a good introduction to using mobile units in a sparse arena.


Frank moves his advance guard onto the objective.  Mark deploys his lead unit in an indirect position; this turns out to be an inspired decision.


Superior Italian firepower forces Frank to break off.  Ozy successfully rolls for a flank march and advances boldly against Mark's position.


Russ has held back the bulk of the Italian troops and times his commitment to perfection.  Ozy finds his troops squeezed between the jaws of Mark and Russ and his troops are routed.  However, Frank's riposte nearly wins the game for the British.
It was a great game well played by both sides.  Frank nearly rescued the game for the British with a well considered use of combined arms that kept Mark pinned and nearly routed Russ.  Mark was held in check by Russ who successfully launched the winning Italian move at just the right moment.  Mark, chomping at the bit, just about kept his exposed force safely placed in a wait and see position.  Ozy was bold in his attack but paid the price for staying too long in a vulnerable situation.

This Thursday we will be playing a more positional game with a British set piece attack against a thinly stretched Axis defence.


Monday, 5 June 2017

Desert Terrain


I thought it might be a good idea to illustrate some of the terrain differences that prevailed in the North African campaign and give some justification for the terrain boards and rules that we will be using in the next operational game.


It's flat.  Any high ground, no matter how insignificant, will give the holder a vital view of the surrounding area.


Related image


Image result for ww2 north africa desert


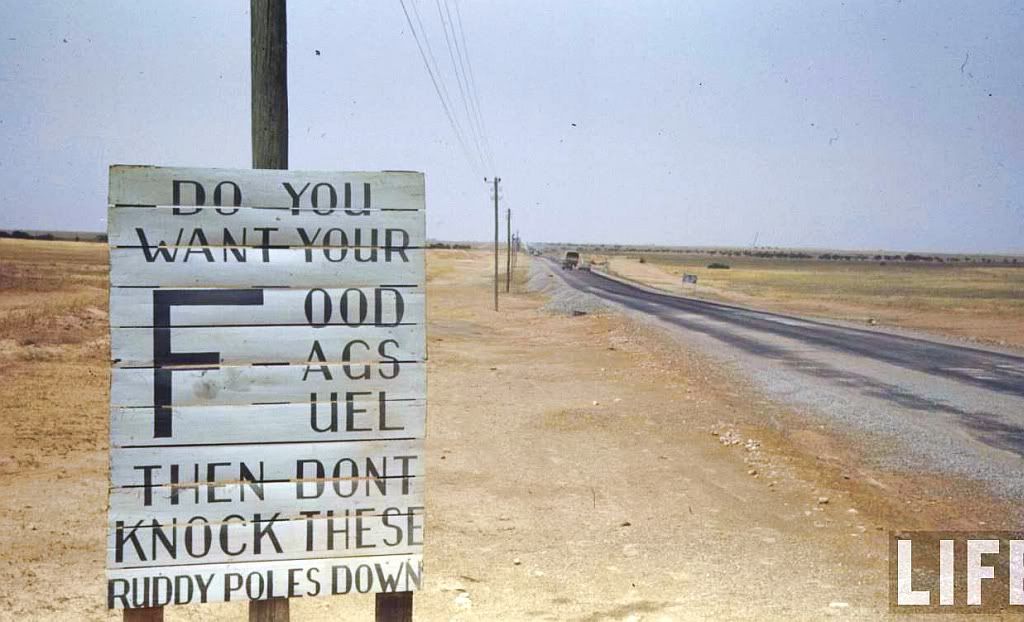
There was only one fully metalled road in the area of operations.

Image result for ww2 north africa


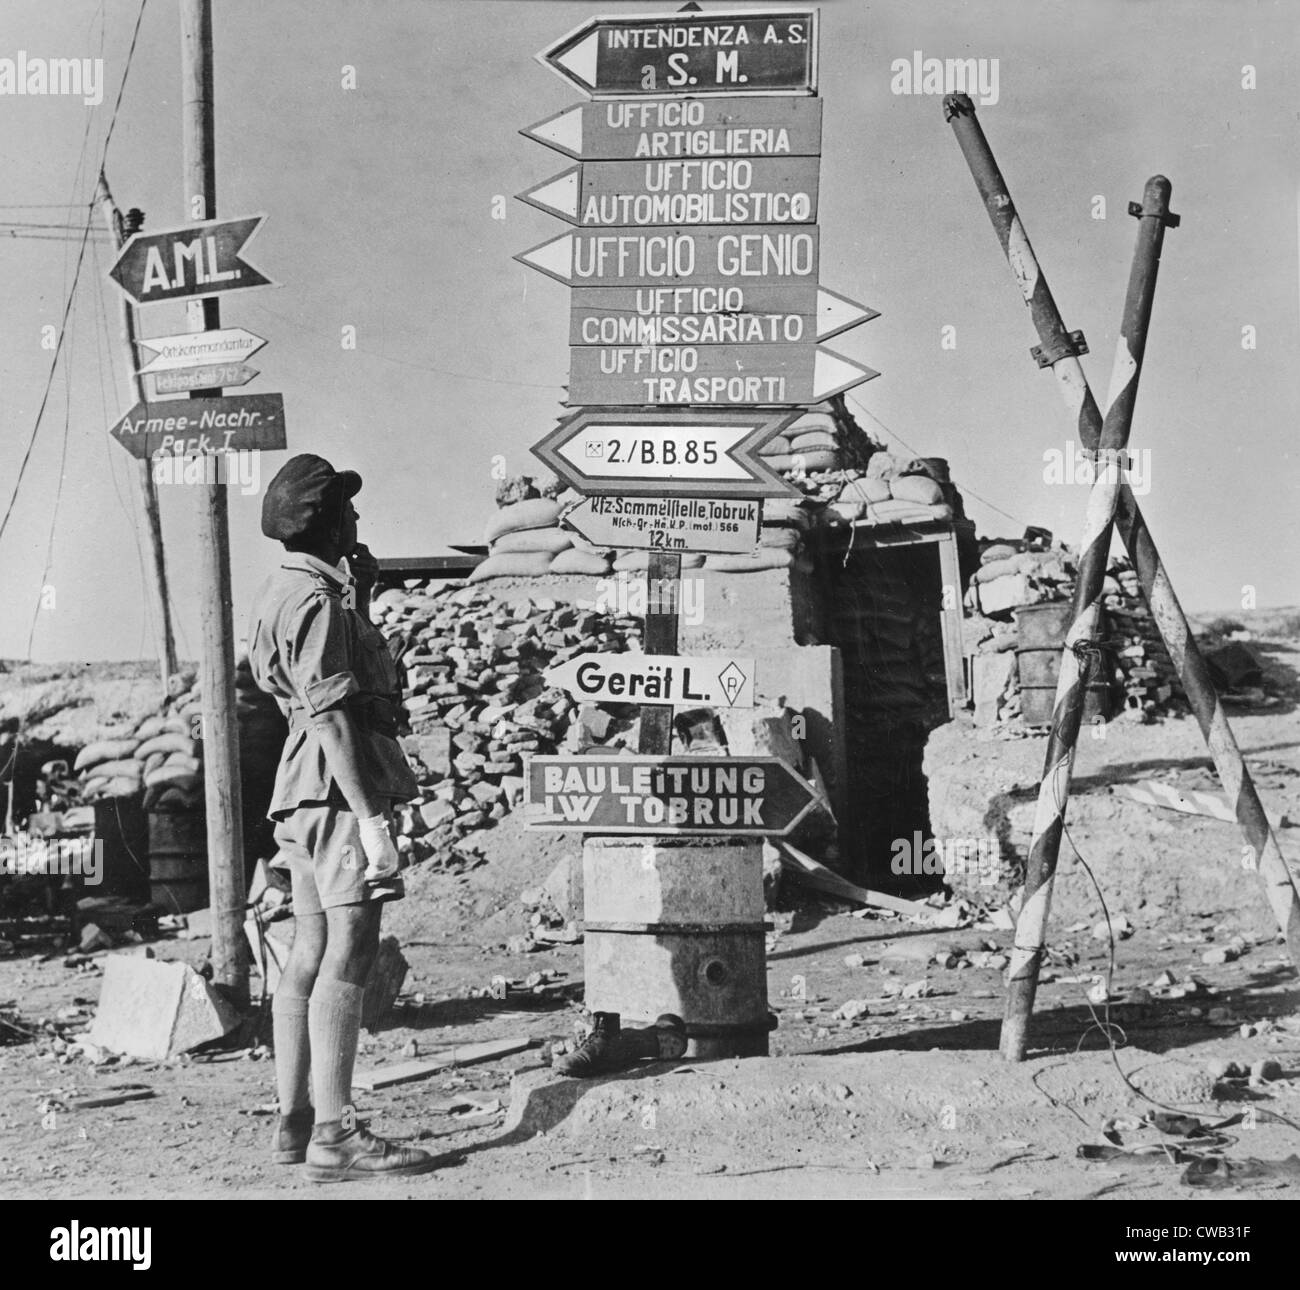
There were few landmarks for navigation.

Image result for ww2 north africa signpost


It's difficult to dig into.


Image result for ww2 north africa sangar

Defences needed time to prepare.


Related image


Many defences were extensive.


Image result for ww2 mareth line


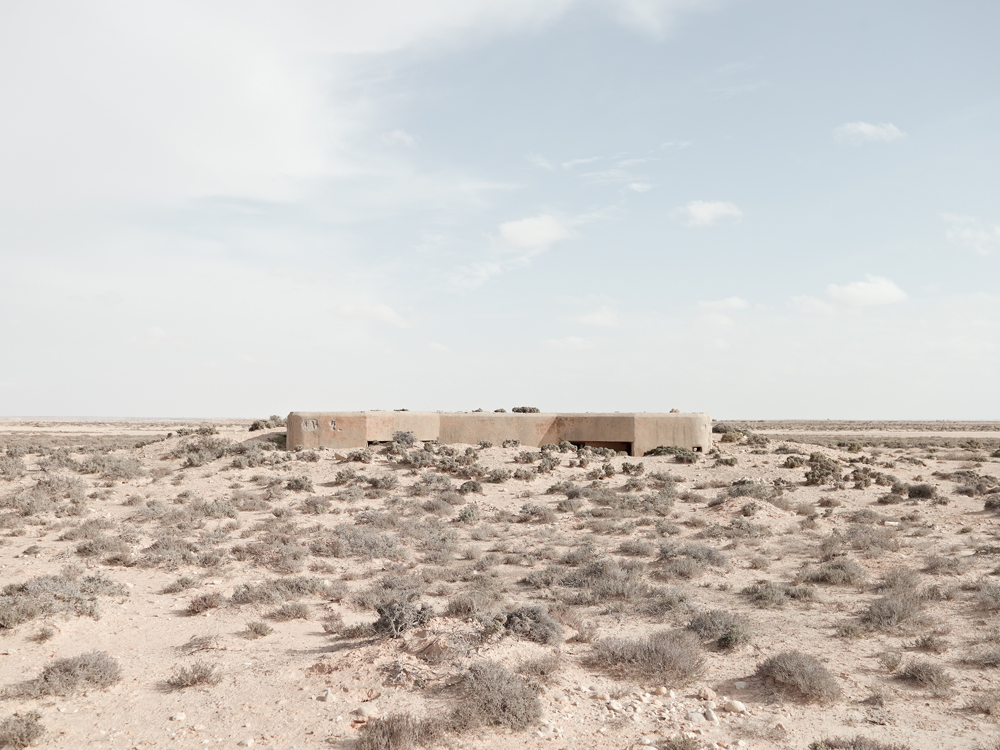
The Italians constructed several forts to guard their borders; fine against tribesmen but not very effective against modern armies.


Image result for ww2 italian el agheila


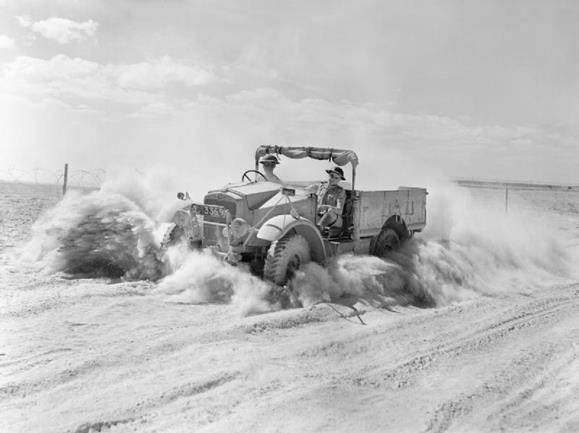
Vehicles generated huge dust clouds that could be seen at a great distance.


Image result for ww2 north africa wadi


Much of the ground was good going but there were plenty of rock strewn areas and soft sand that made movement difficult - and they were often difficult to spot.


Image result for ww2 soft sand


Wadis, or dry river beds, were common.  Large one's were often incorporated into defensive positions.


Image result for ww2 north africa wadi


Once cleared of rocks, the desert made excellent landing grounds for aircraft.


Image result for ww2 north africa terrain


In the shifting sands, minefields moved and were a danger to both sides.


Image result for ww2 north africa minefield


The terrain is what makes the difference for this theatre of operations.  Rommel wrote, that only in the desert could the use of armour and motorised units, as theorised before the war, be fully deployed.  As we've seen in our games, if you are not properly organised into units that use combined arms there are few places to hide!